You’ve taken the first steps toward building your own website after installing WordPress, but are asking yourself, what comes next?

(You can check out our WordPress Installation guide here)
WordPress Security Plugins Bundle Special Offer April 2025: For a limited time only, you can get 5 Essential Security plugins to harden your WP site security for up to 60% off! Don’t miss out!
5 Essential Security plugins bundle includes:
- Two Factor Authentication Plugin to dramatically improve your Website login security using Google authenticator, SMS or Email.
- Domain and email blacklist plugin to block specific domains or emails from registering, filling forms or posting comments to your site.
- SSL HTTPS plugin to redirect all your site post and pages to work with HTTPS and search/fix all insecure content.
- Content restriction plugin which defines which roles can access specific post or pages as well as allow only logged in users to access pages.
- Admin strengthening plugin which includes a selection of handy WordPress tools to improve your WordPress admin dashboard.
All plans are backed with a 30-day money-back guarantee.
Well WordPress is an incredible content management system (CMS) — the most popularly used worldwide — and is pretty easy to learn. But after installing WordPress for yourself and seeing the blank slate of your new website, moving forward can seem intimidating.
After all, there are tons of unique ways to bring a WordPress website through its many themes and plugins. Not to mention basic requirements, such as general setting adjustments, enabling data analytics, establishing contact forms, and other website essentials.
To Help you Out: Here’s a handy checklist covering the top 7 steps you should complete to make your website hit the ground running.
Complete these 7 Essential Steps after Installing WordPress

1. Enter Key Website Information (Title, Time Zone, Profile)
After installing WordPress you’ll need to enter some critical pieces of information for the visitors of your website.
• Site Title and Tagline
On the your WordPress dashboard (which will be accessible right after installation) navigate to Settings > General.
Here you will be able to input the name of your website, and a tagline that tells what your website is all about. Many websites choose to use the tagline space to display a brand motto.
• Time Zone
While still in the General section, scroll down to adjust date and time format you want to be displayed on your website, as well as the time zone it operates in.
• Profile
Profile information is implemented some WordPress themes, and if you are blogging, your profile may be represented alongside uploaded posts. It’s a good idea to fill out this short section early.
From your dashboard navigate to Users > Your Profile. From here you’ll be able to input your username, basic contact info, a short biography, and a profile picture.
2. Delete Excess Content (sample posts and themes)

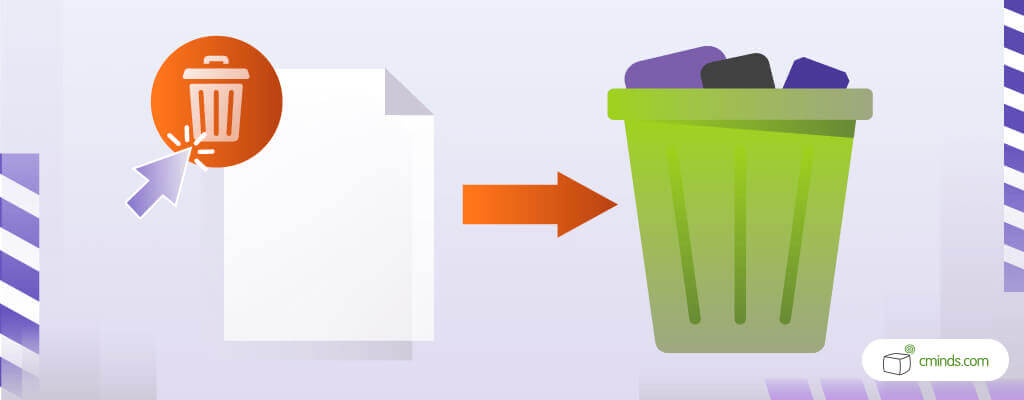
When you load up your website for the first time after installing WordPress, you will see that there is already some content there.This is only placeholder content that’s meant to demonstrate what you can do with your website, and it should be deleted.
• Deleting Sample Posts and Pages
If you look at the Posts section of your dashboard, you’ll see content like a blog post titled “Hello World”.
You can get rid of unwanted posts like this by going to Posts > All Posts and choosing the trash option.
In the same manner, to remove sample pages go to Pages > All Pages and choose the trash option.
• Deleting Default Themes
You’ll also find default themes included alongside your WordPress installation by default.
While you are already removing excess content, you may as well delete any unwanted themes to clean up your navigation and save space.
To delete a theme from your dashboard, navigate to Appearance > Themes. Then select the delete option from the bottom right corner of the unwanted theme.
Note: Active themes are not able to be deleted. If you want to remove an active theme, you’ll need to deactivate it on your website before deleting as usual.
3. Choose a Theme

After installing WordPress and entering your information, it’s time to bring the look of your website to life.
Supplied by either WordPress, or third-party developers, a WordPress theme will determine the appearance and layout of your website. Free and paid themes are available on the WordPress theme directory.
While you should choose a theme dependent on your taste and budget, it’s important to note that paid themes usually offer wider customization options, frequent updates, more attentive support, and smoother functionality.
It’s also important to remember that each theme is coded and operates differently, so make sure you refer to their respective support documentation when modifying your theme further or checking for plugin compatibility.
4. Choose Plugins
Just like themes, plugins are found on both WordPress’ plugin directory, or can be found on third-party developer websites. For reference, you can find our own third-party WordPress plugin page here.
Plugins are great because they extend the functionality of WordPress websites, and they’re essential for most websites. This is because WordPress is packaged with everything needed for blogging alone, so additional website features such as product and service listings, two-factor authentication logins, payment processing, and more are only possible via the installation of plugins.
For a detailed list on good sources for finding WordPress plugins, look here.
5. Defend your Website
A platform made with security in mind, after installing WordPress you’ll already have a fairly secure website. The real trick to keeping your website safe is good security practices.
As it turns out, over 80% of the security breaches on websites can be traced to poor password use.
Strong passwords, a hidden administrator URL, and ensuring that your website is updated to the most current version are all musts to protect your website.
WordPress security plugins are available to enhance your website’s defenses further by bringing added features such as two-factor authentication password protection.
Two-factor authentication requires a second user-specific code that changes over time in the password process to make passwords exponentially stronger.
To learn more about two-factor authentication, check out our explanation here.
Additionally, to demonstrate that your website is secure for visitors to visit, you’ll want to enable a SSL connection. SSL connections defend against outside attempts to intercept the data sent between your website, and they come with SSL certificates.
SSL certificates show up as a padlock icon in browser URLs when visiting SSL websites, demonstrating that they have a protected data connection for their visiting users (just look at the left side of your URL browser while on this page to see an example).
To learn how to enable a SSL connection on your website, use our SSL plugin and here’s our brief guide.
Cybersecurity is really important in two ways – to protect your data and work, and to protect the data of your site visitors or customers. Leaking users data from your site can ruin your reputation and can cause problems with the law. So, make sure to protect your website.
To learn more about some types of online threats and how to resist them, read our review about this.
6. Link your Website with Google Analytics
Building a website is one thing, but ensuring it performs well, and continues to do so, is another.
To monitor your website’s statistics, and plan stronger strategies for it, you’ll want to connect it to Google Analytics.
This will allow you to analyze your website’s traffic, user behavior, and other useful insights to better understand your audience. Virtually all successful businesses track their operational data to influence management decisions, meaning you certainly can’t afford to neglect your own data.
MonsterInsights released a plugin that links WordPress websites with Google Analytics, and is one of the most common methods people use to connect. The plugin also lets you view your stats from WordPress for convenience.
7. Create a Backup Plan
With the preliminary steps completed, you’re just about ready to launch your website. But before you do, it really pays to create a backup strategy.
This last task may seem easily skippable, but it could end up being the most important.
Imagine, after all your hard work and effort you’ve achieved your goal of running a popular and profitable website. But then someone manages to hack it, and suddenly everything you worked for vanishes like nothing was ever there.
With a backup system for your website in place, everything can be restored to the most recent backup file. Much less frightening, right?
However, keep in mind that WordPress does not come with a backup system on its own, so you’ll need to find a plugin that does this for you.
Conclusion

Do everything listed above after installing WordPress, and you’ll be well on your way to running an efficiently managed website.
Though every website requires unique installations and methods to achieve their goals, regardless of its type, each of these seven steps are critically important. Otherwise, you’ll find yourself operating at a lesser capacity than your competitors, and leave yourself vulnerable to trouble down the road.
For WordPress website owners who want to ensure their website is running at peak efficiency, feel free to look over these performance optimization, monthly support, and consulting services.


