There are many ways to create a glossary of terms in WordPress. In this tutorial we will learn how to create a WordPress glossary without plugin.
We will go over step by step of this manual process. As an example, let’s create a simple glossary with four WordPress-related terms. These are CMS, Open Source Software, Registration and Roles.

How To Create WordPress Glossary Without Plugin: Video
April 2025 Offer – For a Limited Time Only:
Get WordPress Tooltip Glossary Plugin for 15% off! Don’t miss out!
How To Create WordPress Glossary Without Plugin Step by Step
In order to manually build a WordPress glossary without plugin, you need at least two kinds of pages: the index (master) page and the term pages. Later on you can also create many more, such as Categories or tags, which can help organizing all your items.

1) Picking a Subject

You have probably chosen a subject already, but, if not, it’s worth pointing this out. It’s important that it’s relevant to the rest of your site.
Pick a subject that you master or feel that you can contribute to. Think about your audience and how a glossary can help them.
It’s good to be specific! No team is able to create an encyclopedia about everything.
2) Creating The Index Page
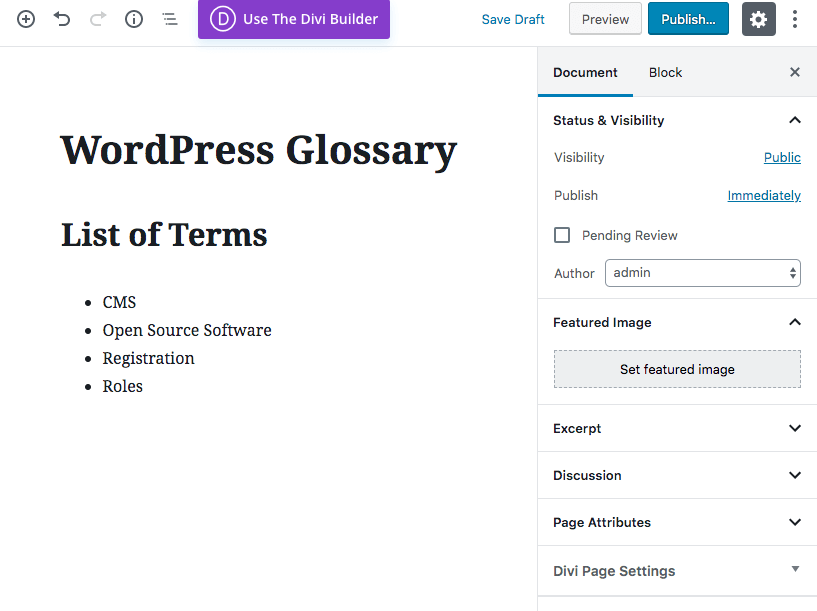
Let’s start with the index page. I’ve named it “WordPress Glossary”, added the List of Terms h2 header and then each item in a list. This is the first actual step when making a WordPress glossary without plugin.

3) Creating The First Term Page

Now for a new page: the term. This is where you define or translate a single term in your glossary.
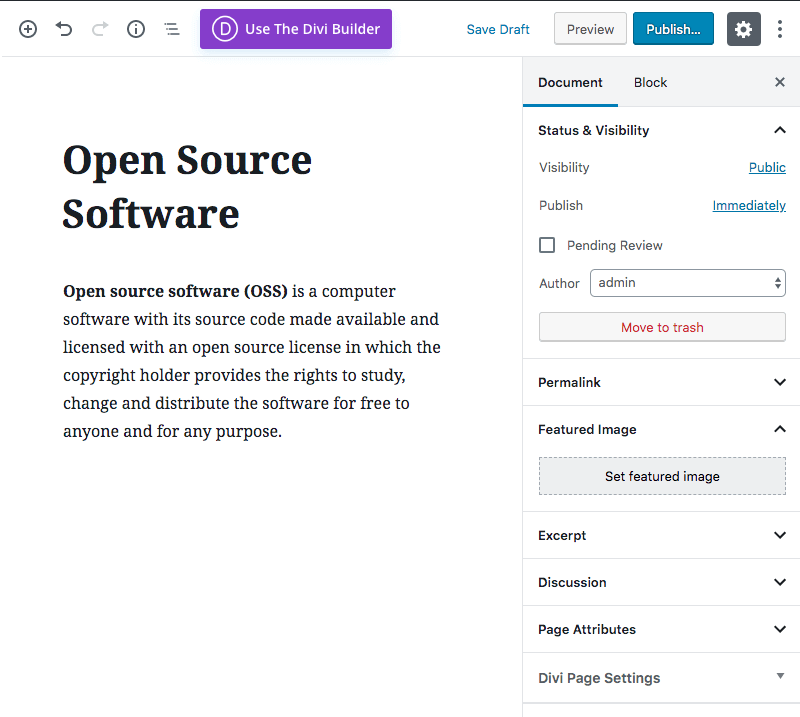
In the example below, we’ve made the content as simple as possible: just a paragraph with the description. In this case,
Open source software (OSS) is a computer software with its source code made available and licensed with an open source license in which the copyright holder provides the rights to study, change and distribute the software for free to anyone and for any purpose.

Note that you can (and should!) add images, graphs and more text to attract users and properly define your terms.
4) Connecting Index and Term Pages
Now we’ll make this into an actual glossary by connecting the pages.
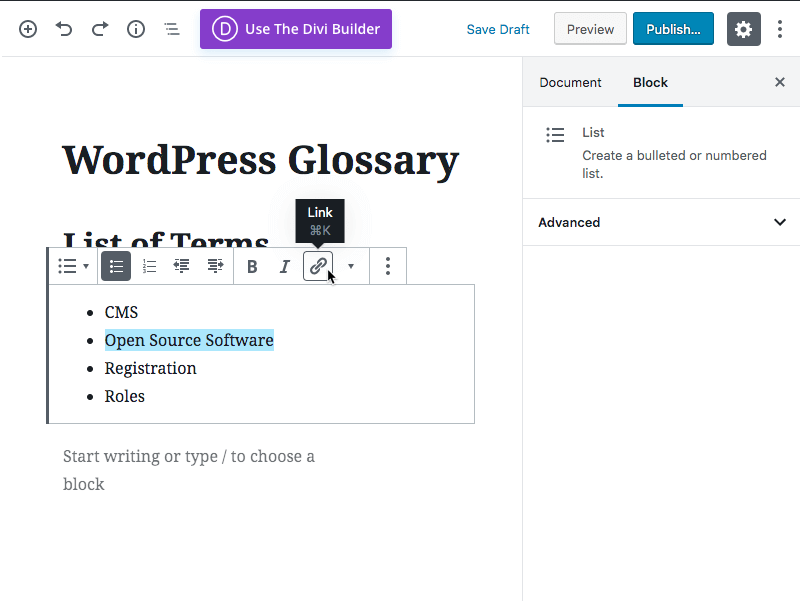
Head to the index page and add the relevant link. In this case, I’m linking the page “Open Source Software” accordingly.

We should also add a link back from the term page to the index page. This is essential! Even in a WordPress glossary without plugin you can improve user experience.
5) Next Steps
![]()
To complete the glossary, you simply have to repeat the process for each new term. This is probably the most time-consuming part of the process.
Important: if you change a link, you will have to update it in the index too.
6) Final Thoughts
To easily create a WordPress glossary, consider using a plugin. One such example is the Tooltip Glossary plugin.
7) Improvement Tips
- Creating rich term pages is good for SEO
- Don’t forget to add a link to your glossary in your menus
- You can add “Related terms” links to each page and connect relevant pages
- To create a more robust and organized glossary, you can also create pages for specific categories. In our example, you could use categories “Simple” and “Advanced”.


